
Lastpass has shifted direction recently in a way where some functionality that was previously free now is being made into paid feature. Primarily one can no longer use free lastpass account on mobile devices and desktop browsers at same time, have to pick one or another. Free users that would like to continue access from both types of devices now need to switch to 2.25$ a month plan.
I do not necessarily blame lastpass for making this move – after all its their right as a business and I can certainly more then afford the price and I think service is good and totally worth the price. However as a nerd and selfhosting enthusiast that also was an avid user of mobile and desktop lastpass version – I immediately accepted the challenge and migrated to bitwarden and so can you.
Why bitwarden rs?
Bitwarden_rs is an unofficial lightweight implementation of the bitwarden api written in rust. Tbh I did not even try looking at an official open source version as dani-garcia version comes so heavily recommended in all the relevant subreddits and lightweight does sound more appealing then otherwise.
Bitwarden and websockets
Something I found missing from bitwarden rs dockerhub page – a mention of that websockets are being exposed on another port (3012 instead of 80) and that they should be routed properly.
I was scratching my head on some weird errors that I was seeing in bitwarden vault web console and was confused why bitwarden folders were coming up empty.
Mystery was solved after careful review of bitwarden wiki – which mentions reverse proxies configuration and websockets. No worries – haproxy configuration below does handle websockets properly.
Bitwarden haproxy configuration on a single port with HTTPS
Haproxy is my preferred go-to reverse proxy as it’s so lightweight, configurable and powerful. The common issue that many selfhosters face is that we dont necessarily have ports 80 and 443 readily available as there maybe dozens of services running on the same machine that all want https. Thus we have to offer https on some other port and also preferrably redirect users that came to http to https version. I also wrote a post about this previously:
Here we’ll be doing mostly the same just with an addition of websockets handling.
Bitwarden and HTTPS
You will need SSL certificate if you wan to use self-hosted bitwarden with a mobile app. And in all cases – the nature of the data is such that you want to use SSL anyways.
You maybe asking yourself – but where do I get SSL certificates from? I also have a post about getting free SSL certificates from let’s encrypt automatically using dnsrobocert that you may want to take a look at. Basically as long as you have a domain name from one of the supported DNS providers -> you can and should setup an automatic certificates issuing/updating pipeline as described in above article.
Docker compose configuration
Here’s docker-compose we can use to launch the haproxy and bitwarden using docker-compose version 3.
You can omit watchtower labels if you dont use watchtower as I do:
version: "3.5"

networks:
  default:
    name: bitwarden


services:

  #SSL termination happens here
  haproxy:
    image: haproxy:lts-alpine
    container_name: ${PROJECT_NAME}-haproxy
    restart: unless-stopped
    depends_on:
      - bitwarden
    labels:
      - com.centurylinklabs.watchtower.enable="false"
    ports:
      - ${APP_HOST1}:${APP_CNT1}
    volumes:
      - ${CERTS_DIR}:/certs
      - ${FS_DIR}/haproxy/config:/usr/local/etc/haproxy:ro


  #actual thing
  bitwarden:
    image: bitwardenrs/server
    container_name: ${PROJECT_NAME}-app
    restart: unless-stopped
    ports:
      - 80:80
    labels:
      - com.centurylinklabs.watchtower.enable="false"
    volumes:
      - ${FS_DIR}/bw/data:/data
    environment:
      SMTP_HOST: 'smtp.example.tld'
      SMTP_FROM: 'user@example.tld'
      SMTP_PORT: "587"
      SMTP_SSL: "true"
      SMTP_USERNAME: 'username'
      SMTP_PASSWORD: 'example password'
      DOMAIN: 'https://mysubdomain.example.tld:31734'
      WEBSOCKET_ENABLED: 'true' # Required to use websockets
      SIGNUPS_ALLOWED: 'true'   # set to false to disable signups
You can also skip SMTP and DOMAIN variables if you do not intend to use bitwarden email features.
Basically very simple setup. We are launching haproxy and bitwarden inside the same network called bitwarden and then exposing bitwarden on port 31734.
I tend to use .env files to supply configurations as opposed to adding them directly, so here’s the accompanying .env file:
#general settings
COMPOSE_PROJECT_NAME=bitwarden
PROJECT_NAME=bitwarden
FS_DIR=/dockers-data/bitwarden


#HAPROXY
CERTS_DIR=/dockers-data/dnsrobocert/letsencrypt/live
APP_HOST1=31734
APP_CNT1=31734
Haproxy config
Before we go ahead and launch the stack – we need an haproxy config file.
Here we are listening on port 31734 for both http and https traffic, then redirect http traffic to https.
Another interesting tidbit is that we separate websockets traffic and direct it to bitwarden port 3012, wereas regular traffic goes to port 80 of bitwarden app.
global
    # Settings under global define process-wide security and performance tunings that affect HAProxy at a low level.

    # Max number of connections haproxy will accept
    maxconn 1024

    # Logging to stdout  preferred when running as a container.
    log stdout format raw local0

    # Only TLS version 1.2 and newer is allowed:
    ssl-default-bind-options ssl-min-ver TLSv1.2


defaults
    # Defaults here
    # As your configuration grows, using a defaults section will help reduce duplication.
    # Its settings apply to all of the frontend and backend sections that come after it.
    # You’re still free to override those settings within the sections that follow.

    # this updates different proxies (frontend, backend, and listen sections) to send messages
    # to the loggign mechanism/server(s) configured in the global section
    log global

    # Will enable more verbose HTTP logging
    # Enable http logging format to incldue more details logs
    option	httplog

    # Enable HTTP connection closing on the server side but support keep-alive with clients
    # (This provides the lowest latency on the client side (slow network) and the fastest session reuse on the server side)
    option  http-server-close
    # option 	httpclose
    # Don't use httpclose and http-server-close, httpclose will disable keepalive on the client side


    # Expect HTTP layer 7, rather than load-balance at layer 4
    mode    http

    # A connection on which no data has been transferred will not be logged (such as monitor probes)
    option	dontlognull

    # Various response timeouts
    timeout connect 5s
    timeout client 20s
    timeout server 45s
    timeout tunnel 3600s

frontend fe-app-combined
    mode tcp
    bind *:31734
    tcp-request inspect-delay 2s
    tcp-request content accept if HTTP
    tcp-request content accept if { req.ssl_hello_type 1 }
    use_backend be-app-recirc-http if HTTP
    default_backend be-app-recirc-https

backend be-app-recirc-http
    mode tcp
    server loopback-for-http abns@app-haproxy-http send-proxy-v2

backend be-app-recirc-https
    mode tcp
    server loopback-for-https abns@app-haproxy-https send-proxy-v2

#http - we simply redirect to https
frontend fe-app-http
    mode http
    bind abns@app-haproxy-http accept-proxy
    # whatever you need todo for HTTP traffic
    redirect scheme https code 301 if !{ ssl_fc }


#HTTPS - real stuff
frontend fe-app-https
    mode http
    bind abns@app-haproxy-https accept-proxy ssl crt /certs/example.com/fullkeychain.pem alpn h2,http/1.1
    # whatever you need todo for HTTPS traffic
    default_backend be-app-real

    use_backend be-app-websockets if { path_beg /notifications/hub } !{ path_beg /notifications/hub/negotiate }


backend be-app-websockets
    #mode http
    #balance roundrobin

    server app-backend1 bitwarden-app:3012 maxconn 30000 weight 10 cookie app-backend1 check


backend be-app-real
    mode http
    balance roundrobin

    # Enable insertion of the X-Forwarded-For header to requests sent to servers
    option forwardfor

    # Send these request to check health
    option httpchk
    http-check send meth HEAD uri / ver HTTP/1.1 hdr Host haproxy.local

    # remove the Server header from responses
    http-response del-header Server

    server app-backend1 bitwarden-app:80 check
    http-request set-header x-client-ip %[src]
    http-request set-header X-Forwarded-Port %[dst_port]
    http-request add-header X-Forwarded-Proto https if { ssl_fc }
Launching bitwarden
Now that we have haproxy config, ssl cert and docker-compose ready – we are ready to launch it:
docker-compose up -d
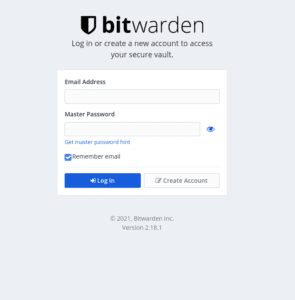
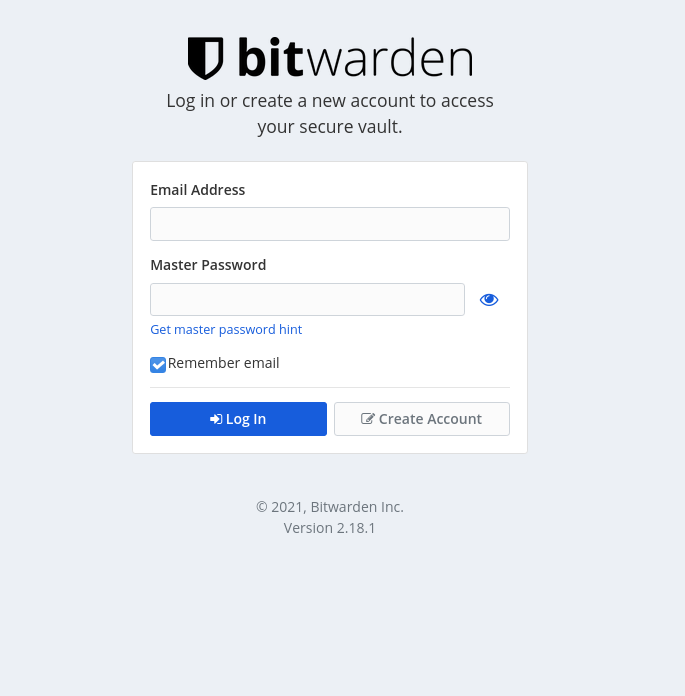
And there we go. At this point if you navigate to HOSTNAME:31734 you should be greeted with bitwarden login prompt:
Exposing selfhosted Bitwarden to the internet or not?
The next question you would probably have is to expose Bitwarden service to the internet or not?
It is indeed more of a nerve wrecking thing to do then some other little services we may be running – as we are now serving so much of sensitive information and it is now our responsibility to maintain the security of the service.
Personally I chose not to ever expose my selfhosted services directly to the internet. What I do is I run a wireguard vpn service and so can you – I wrote another post previously on how to setup wireguard service. Wireguard is always enabled on my phone 24/7 – thus I can access all my selfhosted services remotely without the need to expose anything to the outside world directly. This way we can have a cake and eat it too 🍰.
Final Thoughts
Open source is love, open source is life 🎊 So far I find selfhosed bitwarden service extremely snappy and responsive. Seem to work just as well in mobile (well – android). I had to configure matching for several websites and update routes for few others, but most worked just fine. Bitwarden vault logs you out if you refresh the page – which I also found to be unexpected UX and I initially thought it was a bug but it turned out to be a feature, some remember_me cookie would be preferred in my view but alas.
Overall Im very satisfied new bitwarden user. Thanks to bitwarden company and all individual contributors that made it all possible.